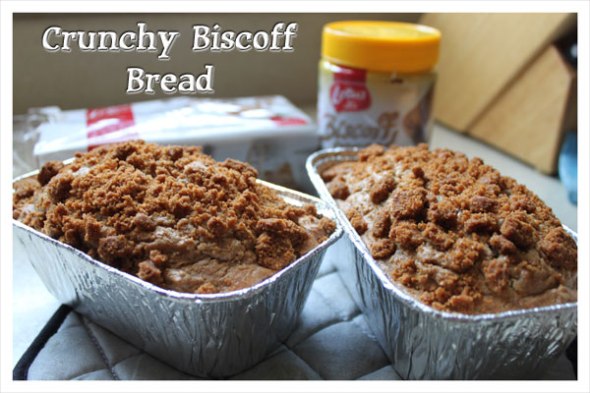
Crunchy Biscoff Bread

Image

I was first introduced to these delicious crunchy cookies on Delta Airlines. I became to like them so much, that I would often beg ask the flight attendants for extra. My world changed when I discovered that Wegman’s was carrying them and I no longer had to buy a $500 plane ticket to devour enjoy these yummy cookies. Just when I thought life couldn’t get any better, one day while at Wal-Mart, there is was…Biscoff spread in “smooth” AND “crunchy”….wait for it…with a $1.00 off coupon. I could’ve died and gone to heaven. I snatched up those glass jars like I was a contestant on Supermarket Sweep.

Since Biscoff Cookies and Spread went mainstream, life has been a little sweeter around here. I have to admit, even though I’ve seen dozens of ice cream, muffin and bar recipes incorporating Biscoff, I’ve been more of a purist, using only the spread (on toast, apples, in banana milkshakes) or just eating the cookies. After hoarding Biscoff recipes on Pinterest, I finally decided to bite the bullet and bake with Biscoff. This recipe is a simple recipe that makes a sweet, dense bread, similar to a coffee cake.

Crunchy Biscoff Bread (I adapted the recipe found here.)

Makes 2 mini-loaves

Prep time: 10 minutes

Bake time: 35 minutes

Ingredients:

1 3/4 cups all-purpose flour
2 teaspoons baking powder
1/4 teaspoon salt
3/4 cup unsalted butter, softened
3/4 cup brown sugar (The original recipe called for granulated sugar, but I only had brown in the pantry.)
3 large eggs (I only had 2 eggs, so I just added a couple of teaspoons of water to the batter.)
1/2 teaspoon vanilla extract
Biscoff cookies, crushed (I used 7 for batter and 3 for topping. I crushed them in my Vitamix, but you could easily crush them with your hands.)
4 T Biscoff spread (Split between 2 loaves)

Instructions:

Preheat oven to 325°. Spray mini-loaf pans with cooking spray.

Using an electric mixer on medium speed, beat butter and sugar until light and fluffy.

Add eggs and vanilla. Mix well.

Gradually add in flour, baking powder and salt.

Gradually add flour mixture. Mix just until combined.

Add in crushed Biscoff cookies to the batter and mix until combined.

Divide batter between the 2 mini-loaf pans. Place about 2 T Biscoff spread on top of each loaf. Swirl Biscoff into batter using a butter knife.

Top loaves with more crushed Biscoff cookies.

Bake for 35 minutes, or until a pick inserted into the center of the loaf comes out clean. Cool completely in pan on wire rack (if you can even wait.)

How have you been enjoying Biscoff cookies and spread? Do you like it crunchy or do you like it smooth? Any Biscoff recipes you’ve been dying to try?
Bake (and eat) at your own risk

Yeah, this title might totally be the way R would describe some of my past baking (and cooking) “experiments”. Remember that cake-in-a-jar that I baked back in October 2010? Well, immediately after making them, I sent them off to my sister and BIL who are currently serving in A-stan. All except for one lonely jar. I stuck this one away at the bottom of my fruit basket with all intentions of “opening” it about 3 weeks after I baked it. (Three weeks is about the time that it takes for a package to arrive over to my sister.) Well, about three weeks later, I did indeed hear from her that the pineapple cake-in-a-jar was delish and she then requested zucchini bread-in-a-jar, which you can read all about here. Needless to say, I forgot about the cake-in-a-jar that I had saved to try later. One month passed. Then two months. For the last couple of weeks, I’ve been eyeing the jar on my baker’s rack and every time I see it, I decide that I’m going to open it…and then I get distracted and forget about it. I think part of me was (subconsciously) afraid it wasn’t good anymore and I would get some sort of stomach bug from it. And that’s coming from the girl with the iron stomach. Well, I saw an “encouragement” from my friend A (see her blog here) to “write” blog entries so she would have something to read tonight, so A, this post is for you.

Here’s what the cake-in-a-jar looked like after 3 months. No obvious mold. Good.

When I opened it, I did hear the seal “POP”. And it didn’t look dried out and still smelled delicious. It came out of the jar pretty easily. Only a little part of it was left behind in the jar. Continue reading

Zucchini bread in a jar

After sending some vacuum-sealed baked goods to my sister who is currently serving in Afghanistan only to find out that they arrived 3 weeks later, with mold, I discovered that you could bake cakes in Mason jars and that they would essentially be preserved (due to the sealing of the jars). Read here for my first attempt. My sister did receive the first cake-in-a-jar that I attempted. I mailed the first batch of pineapple cake on October 5. She told me that she opened the jars and ate the cake on October 23, almost 3 weeks later—and they were fresh! So I asked her if she had any requests for the next batch and she said since they don’t have a lot of access to fresh produce and fruit that she would like zucchini bread. So, here is my attempt with zucchini bread in a jar.

Ingredients:

8-10 pint canning jars (or the equivalent in a larger size) with rings and new lids (I only had 6, so I used these and then made a separate mini loaf.)

3 c flour

1 t salt

1 t baking soda

1 t baking powder

2 t cinnamon

1/4 t nutmeg

1/4 t cloves

2 c zucchini (~1 medium zucchini)

2 c granulated sugar

1 c margarine—at room temperature (I used 1 stick of butter (1/2 c) and then 1/2 c of applesauce

1 t vanilla

3 egg whites—whipped

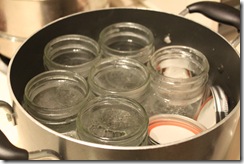
1. Boil jars, lids and rings for 10 minutes. Dry jars. Leave rings and lids in hot water while preparing the batter.

IMG_0641

2. Preheat oven to 325 degrees.

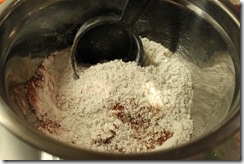
3. Mix flour, salt, baking soda, baking powder, cinnamon, nutmeg, and cloves in one bowl.

IMG_0642

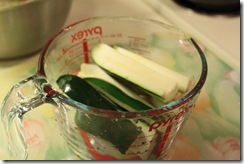
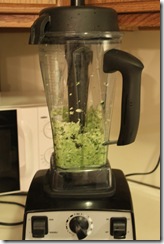
4. Grate zucchini. I used the Vitamix to grate my zucchini. I put the lid on the Vitamix and removed the plug. Turned the Vitamix on to Speed 5-6 and put in the large pieces of zucchini. Wah-lah…grated zucchini with no bloody knuckles.

IMG_0639IMG_0640 

Continue reading

Who says Mason jars are just for jelly? How to make cake-in-a-jar.

Since my sister and BIL left for duty in Afghanistan in March of this year, I have been experimenting with how to best send them baked goods. I had some success in the past with vacuum sealing using a Reynolds vacuum sealer, until the last time I sent her peanut butter bread. When she called me last month, she said she opened up the package and it smelt so good. She was all ready to take a big bite…until she saw the mold. Boo.

Determined to send her something besides cookies, I have had this cake-in-a-jar project on my list for a while and just hadn’t gotten around to it until this weekend. For my first attempt, I made a very simple cake. Once I hear from her that it worked, I will fancy it up.

Here’s how I did it:

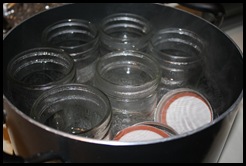
I boiled a big pot of water to sterilize my half-pint jars, lids and rings. You can also use pint jars, which will just result in a bigger cake serving per jar. It’s okay to use cleaned old jars. Just make sure to use new lids and rings.

picture 002

Continue reading